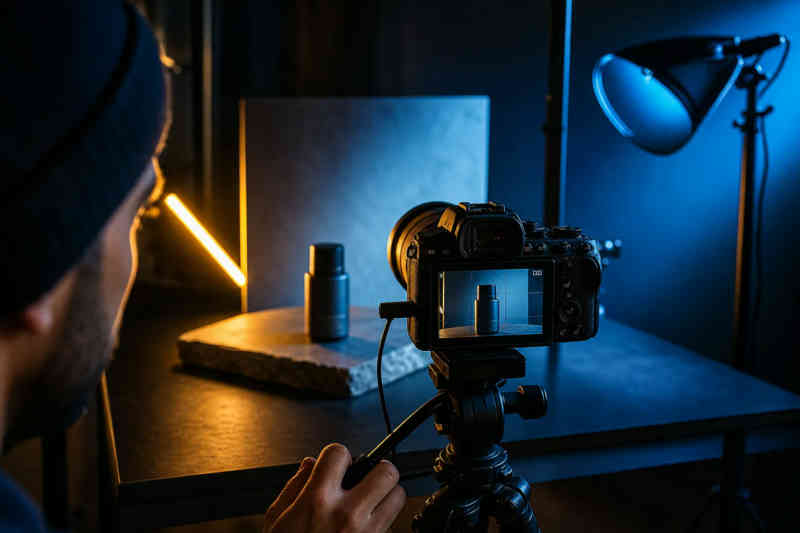
A good product video shows people what they need to know before they scroll away. If you're learning how to make a product video, start with one goal, then build each shot around it. The steps below take you from the first brief to a finished video you can publish, test, and improve.
Step 1: Set the Goal and Choose the Right Product Video Type
First, write down what the viewer should understand or do after watching. A single goal keeps the script focused and gives you a clear way to judge the finished video.
Try this format: This video will show [audience] how [product] helps with [need], then ask them to [action]. For example, a video for a desk lamp might show how its adjustable arm directs light onto a work surface, then invite viewers to see the available styles.
Pick a format that makes the goal easy to show. A demo works when people need to see how something works. A lifestyle video puts the product in a setting where a buyer might use it. A 360-degree view helps when people need to inspect an object from several sides. Animation can explain a process or feature that a camera can't capture well.
For a furniture video, focus on the detail a buyer needs to judge: the shape, the fabric, or how the piece fits into a room. For a sofa, room context can help viewers picture its scale and use.
Choose one main format, then note the channel where it will appear. A product page may need a direct demonstration, while a social ad may need a quick visual hook. M Studio's AI platform turns creative briefs into scripts, storyboards, product shots, and video, with 4K video exports. That full workflow can help when a team needs a campaign draft before a shoot.
- Goal: What should the viewer know or do?
- Audience: Who is deciding whether this product fits their needs?
- Proof: What can the camera show that supports the main claim?
- Action: What should the viewer do next?
Keep the goal narrow. If you can't sum it up in one sentence, the video may be trying to do too much.
Step 2: Write a Focused Script and Build a Storyboard
Your script is a short path from the viewer's problem to the product's use. It should sound like your brand, but it shouldn't read like a brochure.
Begin with a hook that names a need or shows a striking detail. Then explain the problem in plain words. Introduce the product as the answer, show one or two benefits, and close with a clear next step. For a short ad, you might use this sequence:
- Hook: Show or state the need right away.
- Problem: Name the friction the viewer recognizes.
- Product: Show how it works.
- Benefit: Explain why that feature matters to the viewer.
- Call to action: Give one clear next step.
Keep features and benefits distinct. A feature is what the product does. A benefit is why the viewer should care. If a water bottle has a wide opening, show how that makes it easier to add ice or clean the inside. Don't leave viewers to connect those points on their own.
Next, sketch a storyboard. Each frame should show one moment in the video. Add a short note for the action, camera view, on-screen text, and sound. You don't need polished drawings. Boxes and arrows are enough if they make the sequence clear.
For example, a three-frame demo might start with a close view of a product's key part. The next frame shows a hand using it. The last frame shows the result beside a brief benefit statement. This plan helps you spot missing shots before filming, when a change is still cheap.
Plan the words for people watching without sound. Write key on-screen text into the script, but don't paste every spoken line onto the frame. A title that says what the product does is easier to read than a crowded paragraph.
If you want a starting point for the visual plan, these commercial storyboard examples and planning notes can help you turn each script beat into a frame. M Studio can also generate scripts and storyboards from a creative brief, which gives a team material to review before production begins.
By now, you should have a short script with one clear message and a board that tells the crew what to capture.
Step 3: Plan Equipment, Lighting, Budget, and Permissions
Build the setup around the shot, not the other way around. A small product on a table needs a stable camera and controlled light. A person demonstrating a larger item needs more room and a way to capture clean speech.
Start with what you already have. A phone can record useful footage when it stays still and the scene has enough light. Add a tripod or phone mount if the camera needs to remain in the same position. For moving shots, use a stable handheld grip and keep the move slow.
Lighting changes how a product looks. A single harsh light can make shiny surfaces reflect the room or hide texture in deep shadows. Place a soft light to one side of the camera, then use a second light or a reflector to reduce the shadow on the other side. Move the lights and product until colors look close to what you see in person.
Avoid buying gear before you know what the shoot needs. Make a short list of the problems you need to solve: shaky footage, poor sound, dark details, or a background that distracts. Spend first on the issue that would make the video hard to watch. If you're filming one small object near a window, you may need little beyond a steady mount and a way to soften direct sunlight.
Record a test clip before the planned shoot. Watch it on a laptop and a phone. Check whether the product is in focus, whether labels or textures are visible, and whether the sound is clean. A test can reveal a humming fan or a reflection that the camera screen didn't make obvious.
Permissions matter too. Get permission from anyone who appears on camera. Use music that you have rights to use on the channels where you plan to publish; a track available in one editing app may not be cleared for every use. Check the terms for stock clips, fonts, and images. Keep a record of the source and license for each asset.
Set a budget by separating must-haves from nice-to-haves. A clear product view and intelligible speech usually matter more than a complex camera move. If the video is a one-off, renting or borrowing gear may make more sense than buying it. For a repeat campaign, gear that reduces setup time may pay off through faster shoots, but only if it solves a real bottleneck.
By now, you should have a shot list, a simple gear plan, and permission checks assigned to someone on the team. Don't wait until the edit to ask whether the music can be used in an ad.
Step 4: Film Clear Product Shots That Show the Benefits
Film the product so each shot proves a point from the script. If the line says the lid opens with one hand, show that action clearly. A pretty shot that doesn't support the message may look good in a folder, but it won't help the viewer understand the product.
Begin with a wide view that shows the whole item in its setting. Then record close-ups of details people may want to inspect, such as a seam, control, surface, or moving part. Capture a demonstration from an angle where the action is easy to see. Keep the product in the same light when you cut between views, so its color doesn't seem to change.
Hold each shot steady for a few seconds before and after the action. That gives the editor room to make clean cuts. If you move the camera, choose one move and repeat it at a controlled speed. Quick, accidental movements can make a small object difficult to follow.
Frame for the final channel. A vertical social version may need the item near the center, with space above or below for text. A wider product page video can show more of the surrounding scene. Leave room for captions and avoid placing important details at the very edge of the frame.
Check focus and exposure before every take. On a phone, tap the product on screen and lock focus if the camera keeps shifting. Watch for glare on glass or polished surfaces. If the product has a reflective finish, change the light angle rather than trying to fix every bright spot in the edit.
Capture a few takes of each key action. Change one thing at a time, such as the angle or hand position, so you can compare the clips later. Note the best takes on the shot list. That small habit saves time when the edit begins.
If you're generating campaign imagery rather than filming each scene, M Studio can make product shots as part of its brief-to-video workflow. You can also compare approaches in this guide to AI product image generators for e-commerce. Check every generated image against the real product before you use it, especially when shape or small details affect a purchase decision.
By now, you should have footage that covers every line in the script, plus a few alternate views. If a benefit has no matching shot, get it before packing up.
Step 5: Edit for Pace, Clarity, Captions, and a Strong CTA
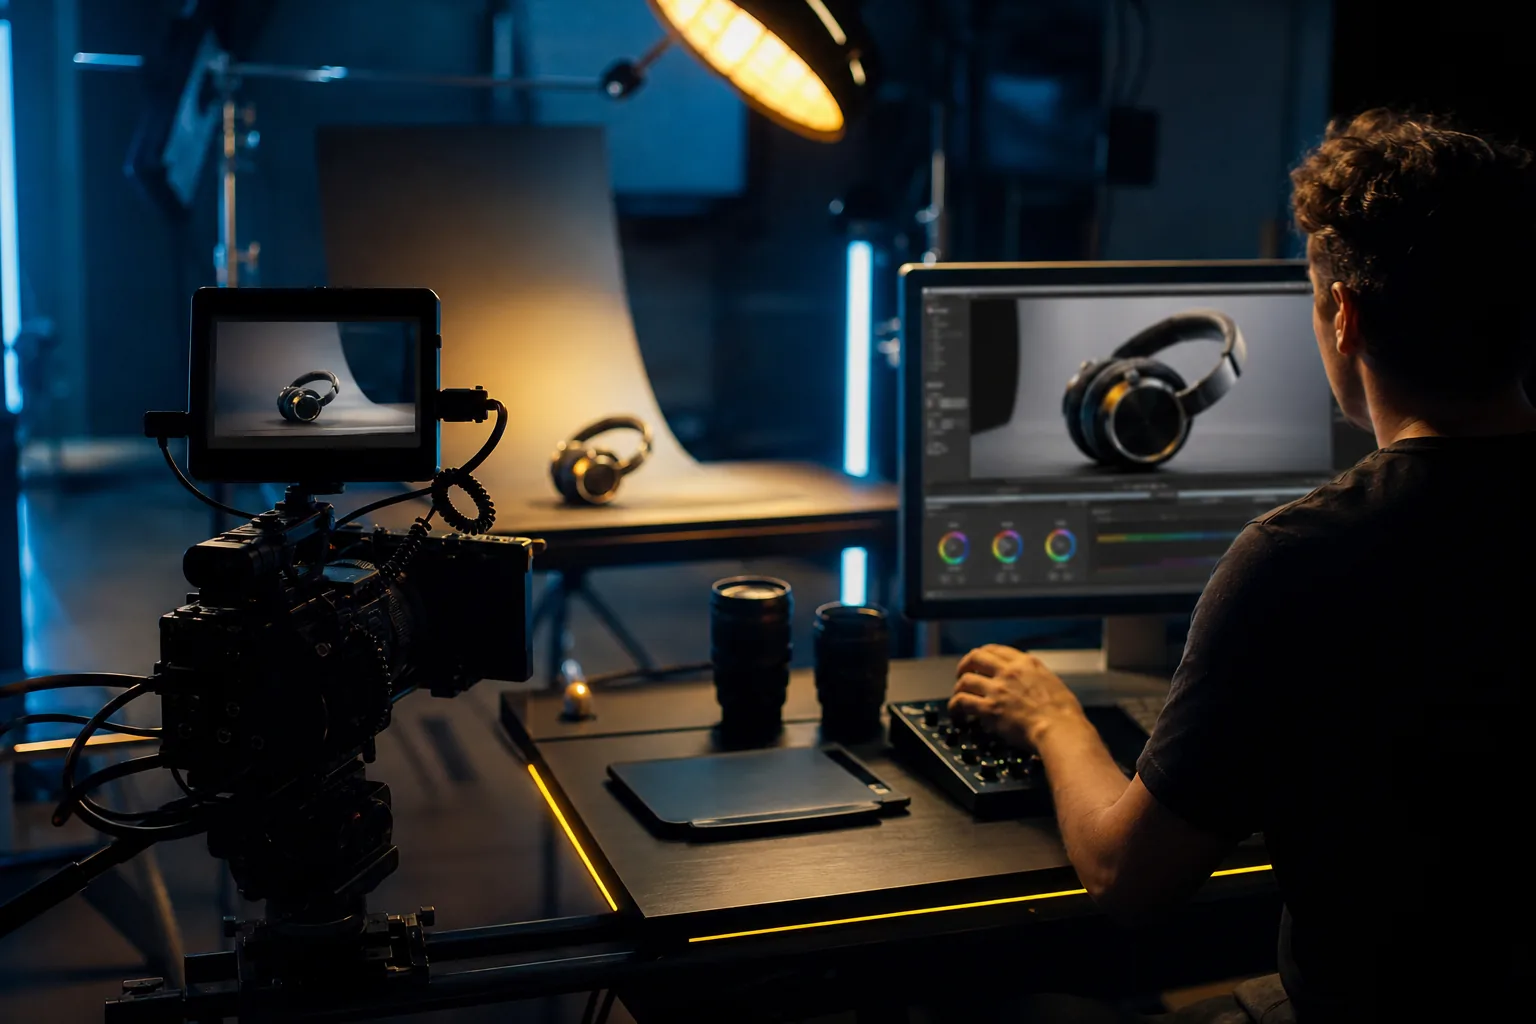
Start with a rough cut that follows the story. Put the shots in order, remove pauses that don't add meaning, and keep the strongest visual near the start. Don't add effects yet. First make sure the video makes sense with simple cuts.
Then trim each shot to the moment that proves the point. If a hand takes too long to reach the product, cut closer to the action. If viewers need to see how a part moves, give that moment enough time to understand it. Short is useful only when the story remains clear.
Add captions for spoken words and text overlays for key points. Keep each caption on screen long enough to read, and place it where it doesn't cover the product. Review the video with the sound off. The main idea should still come through.
Choose music that fits the pace without competing with speech. Keep the voice easy to hear. Add a sound effect only when it helps explain an action or marks a transition. A quiet, clean edit often feels more credible than a pile of effects.
Polish color and brightness so the product looks consistent across shots. Don't push color so far that the item looks unlike what a buyer will receive. Check for flickering lights, clipped highlights, or stray reflections. Watch once for the story, then again for these small problems.
Make the CTA specific. Tell viewers what to do next, such as view the product details or compare the available options. Keep the same action in the final frame and on the page that the video leads to. A video that asks for one thing while the page asks for another creates needless friction.
Keep project files tidy as you edit. Separate footage from audio and graphics, and name the final exports by channel and format. That makes later changes less painful when a team asks for a new crop or caption version.
By now, you should have a clean edit with captions, balanced sound, and one next step. Export a review copy before you make the final platform versions.
Step 6: Optimize, Publish, Repurpose, and Measure Performance
Make the export fit the place where it will appear. Check the platform's current file, aspect ratio, and length rules before exporting. Use a vertical frame for a vertical feed and a wider frame where the page layout supports it. Don't stretch one crop into every placement if the product ends up cut off.
Give the video a useful title. On a product page, name the item and the question the video answers. On a video platform, write a clear description that matches what viewers see. Add relevant tags where the platform uses them, but don't treat tags as a substitute for a useful title or a strong thumbnail.
Choose a thumbnail that shows the product clearly. A frame with a visible action or detail can tell viewers what they'll get. Keep text brief and legible on a small screen. Before publishing, check the thumbnail beside nearby content, not just in a full-size preview.
Make versions for other channels from the same core footage. A full demo can become a short social cut that shows one benefit. A still frame can support an email or product page. Keep the key claim and CTA consistent, then adjust the framing and length for each placement.
M Studio can support this workflow when a team wants to build an ad from a brief through to video output. Its self-serve platform combines script writing, storyboards, product-shot generation, and 4K exports. For a broader view of product video tools and their workflows, see this comparison of AI product video generators.
Measure the result against the goal you wrote in Step 1. If the goal was product understanding, check whether people watch long enough to reach the demo. If the goal was a click, look at clicks from the video placement. Use the metrics the channel makes available, and compare like with like: the same audience, placement, and time window.
Test one change at a time. You might compare two opening shots while keeping the rest of the video the same. Or test a different thumbnail without changing the title. If several parts change at once, you won't know what caused a difference in results.
Use the outcome to revise the next version. If people leave before the product appears, move the demo earlier. If they watch but don't click, make the CTA clearer or check whether the linked page matches the promise. A video is a working asset, not a finished answer to every campaign question.
By now, you should have a channel-ready export, a plan for reuse, and one test to run next. Save the original footage and project file so you can make that next version without starting over.
FAQ
How long should a product video be?
A product video should be only as long as it needs to explain its main benefit. A short ad may need just one use case, while a detailed product demo may need more time to show a sequence. Cut repeated claims and slow setup, but leave enough time for viewers to see the action clearly.
Can I make a product video with my phone?
Yes, you can make a product video with a phone if you keep the camera steady and light the product well. Clean the lens, lock focus when it shifts, and record a test clip before the full shoot. Clear sound also matters if someone speaks, so use a quiet room or a separate mic when needed.
What should a product video script include?
A product video script should include a hook, the viewer's need, a clear product demonstration, a benefit, and one call to action. Write the spoken words and note the matching shot beside them. That way, you can check whether the camera actually shows the claim instead of relying on narration alone.
How do I measure whether a product video works?
Measure the video against the goal you set before production. For awareness, review watch and completion data where available. For action, check clicks or other results tied to the placement. Compare versions under similar conditions, then change one element at a time so you can learn which edit helped.
Conclusion
Make one focused video first: choose a single viewer need, plan shots that prove the benefit, and give the viewer a clear next step. Before filming, write the goal and sketch the first few frames. If you're shaping an ad workflow, browse M Studio's templates to see how a brief can become a script and storyboard.