You've generated your clips. Runway gave you a cinematic dolly shot. Kling produced a dead-on character close-up. Pika nailed the stylized cityscape transition. Everything looks good in isolation.
Now what?
This is the question most AI video tutorials skip. They show you how to prompt, how to pick a model, how to regenerate a bad result. What they don't cover is what happens after the generation: how you turn a folder of 12-second MP4s into something that resembles an actual film.
Here's the honest answer: there are three real options, and only one of them was designed for this.
The problem with AI-generated video editing
AI video clips have some specific technical quirks that make them annoying to work with in traditional editing software:
- Inconsistent frame rates. Runway exports at 24fps. Kling outputs at 30fps. Pika defaults to 24fps but sometimes 25fps depending on settings. Mix them on a timeline and you'll see stuttering in transitions.
- Variable aspect ratios. Same model, different prompts — sometimes 16:9, sometimes 9:16, sometimes weird crop artifacts.
- No embedded audio reference. Traditional footage comes with sync audio from the camera. AI clips come with either no audio or AI-generated audio that may or may not match your timeline sync points.
- Regeneration friction. The editing cycle for AI content is different. With traditional footage, the edit is final — you shot what you shot. With AI, a bad clip can be regenerated. But traditional NLEs have no concept of "regenerate clip 7" — you're back to the browser tab, then file management, then re-import.
None of these are blockers. They're just friction that adds up fast when you're working with 20+ clips across three different models.
Option 1: DaVinci Resolve or Adobe Premiere
The most common solution for anyone coming from traditional video production. It works. You can build a timeline, handle the frame rate conversion (DaVinci's Resolve is better at this than Premiere), color grade, and mix audio.
The problems start when you hit the regeneration loop. You export a rough cut, watch it, decide shot 9 doesn't work, go back to Runway, regenerate 4 variations, download them, rename them so you don't confuse them with the original, re-import to DaVinci, replace on timeline, recheck color grade because the new clip has slightly different exposure.
For a 3-minute short that requires 3-4 rounds of iteration, you're doing this maybe 15-20 times. It's manageable if you're methodical. It's exhausting if you're on a deadline.
The other issue: DaVinci Resolve and Premiere were built for footage from physical cameras. They handle AI clips fine, but they have no awareness of which AI model produced each clip, what prompt generated it, or which variations were rejected. That context lives in your head or in a separate spreadsheet.
Who it works for: Editors already fluent in Resolve or Premiere who are doing occasional AI video projects and don't mind the import/export overhead.
Option 2: CapCut, Clipchamp, or mobile editors
Fast to start, good for short-form content. If you're making 60-second social media clips using one or two AI-generated shots mixed with text and music, CapCut is fine. The auto-captions work well, the template library is large, and it exports to every format social platforms want.
It breaks down completely for anything longer or more complex. Timeline precision is limited. Working with multi-track audio is frustrating. There's no serious color grading. Long-form export options are limited. And like traditional NLEs, there's no native concept of AI clip regeneration — you're still bouncing back and forth between the browser and the editor.
Who it works for: Content creators making short social clips where speed matters more than craft.
Option 3: mstudio.ai
This is the only tool in the current landscape built from scratch for AI-generated footage. The distinction matters because the workflow assumptions are different from the ground up.
In mstudio.ai, your clips live inside the project — they're not imported files on your hard drive that the editor references. When you decide shot 9 doesn't work, you right-click it on the timeline and regenerate with an adjusted prompt. The new clip replaces the old one in place. You see it in context immediately.
A few things that are specifically useful:
Multi-model timeline
You can use Kling 3.0 for your character-driven shots, Runway Gen-4.5 for your wide cinematics, and Wan 2.2 for establishing shots — all within the same project, on the same timeline. Each clip has metadata showing which model and prompt produced it. When you review the cut and notice the Runway and Kling clips have different color signatures, you know exactly which shots need grading adjustments without checking filenames.
Frame rate handling
mstudio.ai normalizes clips to the project frame rate on import. You set the project to 24fps at the start and it handles the conversion. This is one less thing to manually manage in DaVinci.
Integrated audio
BGM and SFX are in the same timeline as your video clips. The audio waveform sits directly below your video track, so you can see exactly where music swells hit relative to your cuts. No separate audio session, no bouncing between applications.
If your clips came from audio-capable models (Kling 3.0 or Veo 3 with audio generation enabled), the AI-generated audio for each clip appears automatically as a separate track you can use, trim, or replace.
Export without a local render
mstudio.ai renders server-side. You don't need a GPU workstation or a fast machine. A 3-minute 1080p film typically renders in 2-4 minutes. This matters for filmmakers working on underpowered laptops or in environments where a full editing workstation isn't available.
Who it works for: Anyone making AI video content longer than 60 seconds, anyone who iterates heavily on individual clips, anyone using multiple AI models in the same project.
A practical editing checklist for AI-generated footage
Regardless of which tool you use, these steps will save time:
Before you start editing
- Label your clips by shot number before downloading them from the generator. "shot_01_v1.mp4", "shot_01_v2.mp4" — not the default "output_1729384.mp4".
- Check frame rates and aspect ratios before importing. If you have mixed rates, decide on your master rate (usually 24fps for cinematic content) before you start the timeline.
- Note which clips were generated with audio and which weren't. Plan your audio tracks around the natural breaks in your footage.
During the rough cut
- Build story order first, audio later. Get the shots in sequence before worrying about music. It's easier to see where pacing is wrong when you're not distracted by sound.
- Flag clips that need regeneration rather than replacing them immediately. Finish the rough cut, then regenerate the flagged clips in one batch. Switching back and forth mid-edit breaks your editing rhythm.
- Keep your original clips until the final export. AI clips can look subtly different between generation attempts — you might want the original back.
For shot consistency
Visual consistency across AI clips from different models is the hardest problem in AI filmmaking. Some things that help:
- Use reference images to anchor character appearance across Kling generations. Extract a frame from your first character shot and use it as the reference image for all subsequent close-ups.
- Establish a consistent prompt vocabulary for your world — same lighting descriptions, same color language, same camera movement terminology — across all shots in a scene.
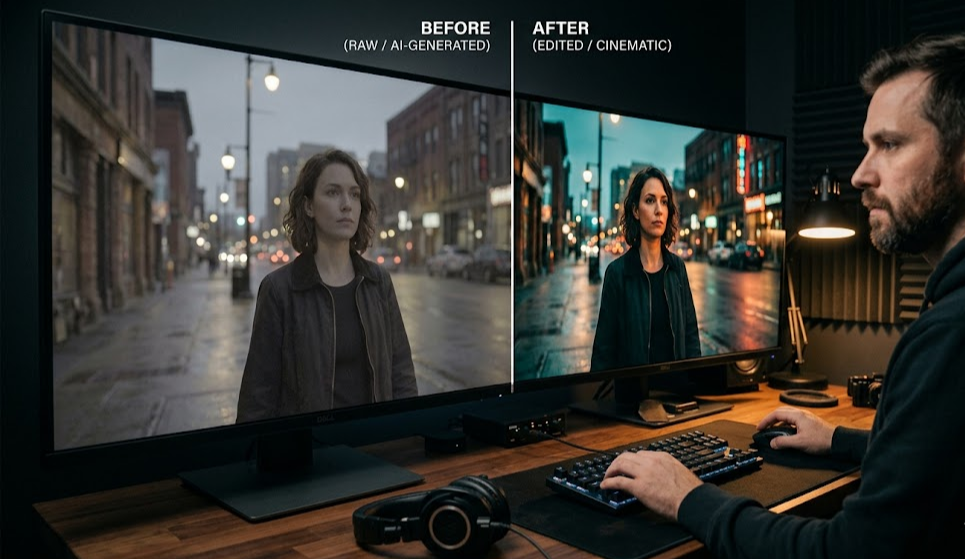
- Treat color grading as a unifying layer, not an afterthought. If your Runway shots are slightly cool and your Kling shots are slightly warm, a subtle grade on each brings them together.
The editing tools comparison at a glance
| Tool | Best for | Main friction point |
|---|---|---|
| DaVinci Resolve | Professional color grading, complex timelines | No native AI clip management, heavy iteration overhead |
| Adobe Premiere Pro | Teams already in Adobe ecosystem | Frame rate handling, same iteration overhead as Resolve |
| CapCut | Short-form social clips, quick turnaround | No long-form support, limited precision |
| mstudio.ai | Multi-model projects, iterative AI workflows, long-form films | Less granular color grading than Resolve (currently) |
Which one to use
If you're already in DaVinci Resolve for professional work and AI is one input among many, stay in DaVinci. The overhead is manageable and the color tools are unmatched.
If your entire project is AI-generated footage and you're iterating on individual clips throughout the edit, the overhead of the traditional NLE import/export cycle will slow you down significantly. mstudio.ai removes that friction — it's the reason the tool exists.
The choice gets clearer the longer your project is. A 30-second clip can be edited in CapCut in 20 minutes. A 5-minute short with 4 rounds of clip iteration is a different calculation entirely.
Start your first project at mstudio.ai.