You've generated a stunning 5-second clip in Runway. Another perfect shot in Kling. A beautiful cinematic moment in Pika. Now what?
This is the wall every AI filmmaker hits: individual clips are incredible, but turning them into a complete movie requires stitching, syncing, color-grading, adding music — and doing it across a dozen different AI-generated clips.
Most people download every clip manually, import to After Effects or Premiere, and spend hours on work that has nothing to do with creativity. That workflow made sense for traditional film. For AI filmmaking, it's a bottleneck.
This guide shows you how to combine AI video clips into a full production — and do it entirely inside a single AI-native interface.
Why Combining AI Video Clips Is Hard (The Real Problem)
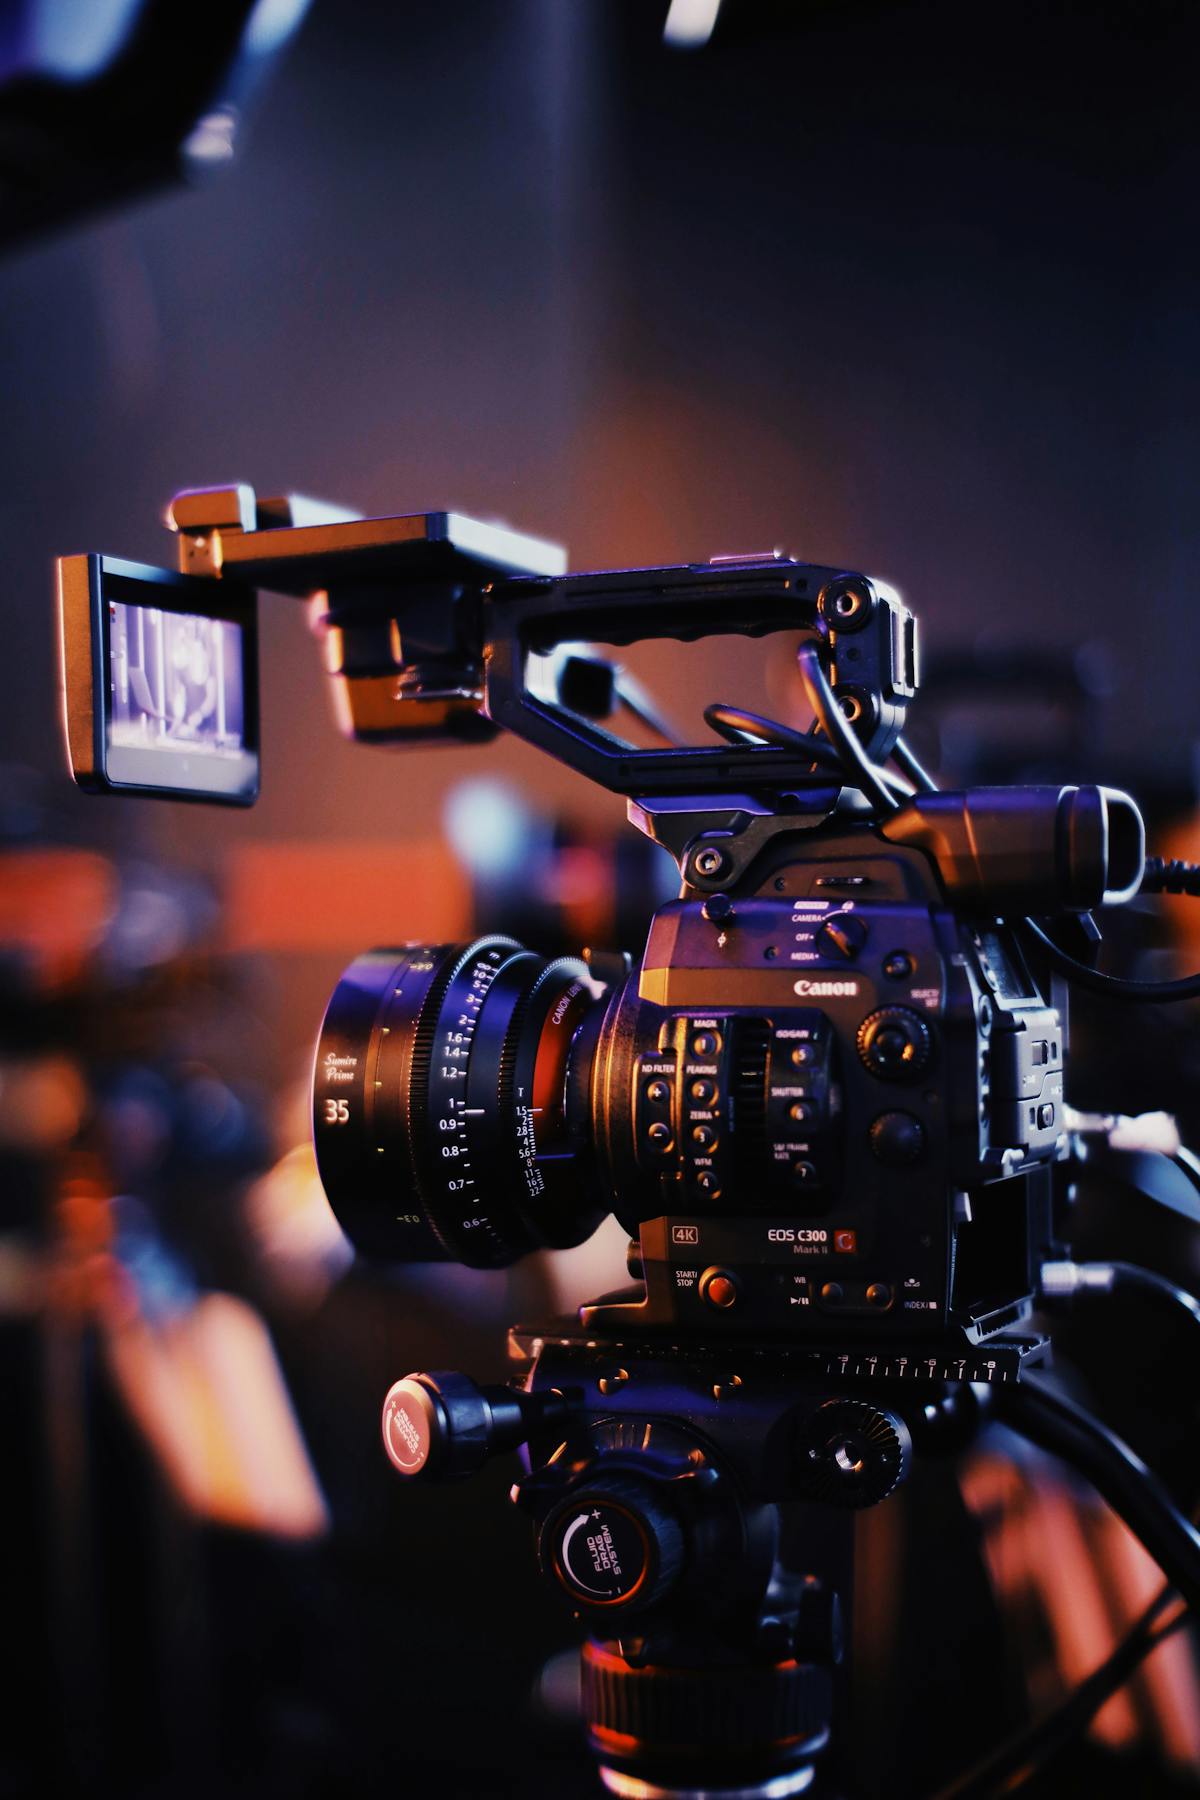
AI video generators — Runway ML, Kling, Pika, Luma, Sora — all have the same constraint: they generate short clips, typically 5–15 seconds. That's the nature of diffusion-based video generation; longer generation means exponentially more compute and less coherent output.
The challenge isn't generating clips. It's orchestrating them into something that tells a story:
- Continuity: Each clip is generated independently. Characters look slightly different shot-to-shot. Lighting shifts. The world feels inconsistent.
- Timing: Clips need to flow with a narrative arc — cuts that feel motivated, pacing that builds tension or releases it.
- Audio: Background music, sound effects, and dialogue all need to sync precisely to specific frames.
- Export: Assembling dozens of clips, transitions, and audio layers into a single deliverable MP4 requires a timeline editor — not just a folder of clips.
The traditional workflow looks like this:
- Generate clip in Runway → download MP4
- Generate clip in Kling → download MP4
- Import both to After Effects or Premiere
- Manually sync audio
- Adjust color grading per clip
- Add transitions
- Export and re-import if you need to change anything
- Repeat for every revision
If you're making a 2-minute film, you might be managing 15–25 clips across multiple tools. The context-switching alone kills creative momentum.
The AI-Native Approach: Orchestrate, Don't Edit
The better mental model is orchestration — treating your AI generators as cameras on a virtual set and managing the full production from a single control room.
This is exactly what mstudio.ai is built for. Instead of downloading and re-importing clips, you:
- Generate shots directly inside mstudio using whichever AI model fits that specific scene (Runway for cinematic motion, Kling for photorealistic people, Pika for stylized animation)
- Arrange them on a timeline alongside music, SFX, and dialogue
- Export the final production as a full-length video — no intermediate downloads, no manual assembly
The result is a workflow that looks like a film studio, not a folder full of MP4s.
Step-by-Step: Combining AI Video Clips Into a Full Movie
Step 1: Plan Your Shot List (Before Generating Anything)
The biggest mistake AI filmmakers make is generating clips randomly and trying to build a story around them. Start with a shot list instead:
Scene 1 — Establishing shot: Wide angle of city at night, rain, neon lights
Scene 2 — Character introduction: Close-up face reveal, dramatic lighting
Scene 3 — Action beat: Character running through crowd
Scene 4 — Reaction shot: Close-up of face, fear/determination
Even a rough outline saves hours of iteration. If you know Scene 3 needs motion and energy, you'll prompt Runway differently than if you're generating a static ambient shot for Kling.
Step 2: Generate Each Shot With the Right Model
Different AI video models have different strengths. Matching the model to the scene type dramatically improves output quality:
- Runway Gen-3 Alpha — cinematic motion, camera moves, dynamic scenes
- Kling 1.6 — photorealistic human faces and bodies, consistent character appearance
- Pika 2.0 — stylized aesthetics, animation-influenced looks, creative effects
- Luma Dream Machine — smooth camera orbits, 3D-consistent environments
- Sora — complex multi-subject scenes, physics accuracy
Inside mstudio.ai, you can generate from any of these models without leaving the interface. Each generated clip is automatically added to your project timeline.
Step 3: Arrange Clips on the Timeline
Once you have your shots, drag them onto the mstudio timeline in sequence. The timeline shows:
- Video tracks (each clip as a block)
- Audio tracks (music, SFX, voiceover)
- Transition points between clips
You can trim clips to their best moments, extend them by regenerating with a different seed, or replace a clip entirely if the generation missed the mark — without losing your overall project structure.
Step 4: Add Audio (Music + SFX)
Audio is what makes AI video feel like a real film. mstudio includes a built-in audio library and supports custom audio upload. For each scene:
- Select a background music track that matches the emotional tone
- Add ambient SFX (rain, crowd noise, wind) to fill sonic space
- Sync audio peaks to visual cut points for tighter editing rhythm
The key insight: viewers will forgive visual inconsistency between AI clips if the audio tells a cohesive story. Music and SFX create narrative continuity even when visual styles vary.
Step 5: Handle Visual Continuity (The Hard Part)
Visual consistency between AI-generated clips is the biggest challenge in AI filmmaking. A few techniques that work:
Use the same model for same-character shots. If your protagonist appears in scenes 2, 5, and 9, generate all three in Kling with the same character description. The model will maintain more consistent appearance than switching between generators.
Use image-to-video for continuity shots. Generate a still frame from your last clip, then use it as the starting frame for the next generation. Most models (Runway, Kling, Pika) support image-to-video mode — this creates visual "bridges" between scenes.
Use transitions strategically. Hard cuts work between scenes with the same subject. Cross-fades or flash-cuts help mask continuity breaks between scenes with different visual styles.
Step 6: Export and Review
When your timeline is complete, mstudio exports the full assembly as a single MP4 with all clips, audio, and transitions baked in. You can export in multiple resolutions (1080p, 4K) depending on your use case.
Review the exported file end-to-end before sharing. Common issues to watch for:
- Audio peaks that feel unnatural at cut points — adjust sync slightly
- Clips that run too long — trim to tightest meaningful moment
- Scenes where the visual jump is too jarring — regenerate the transitional shot or add a cutaway
Common Mistakes When Combining AI Video Clips
Mistake 1: Generating Without a Plan
Random generation leads to clips that don't belong to the same story. Before generating a single frame, know the narrative purpose of each shot.
Mistake 2: Mixing Too Many Visual Styles
Using six different AI models across a 2-minute film creates visual chaos. Pick 2–3 models max and use each for a specific type of shot (one for character close-ups, one for wide shots, one for action).
Mistake 3: Treating Every Clip as Final
AI clips are drafts. Generate fast, arrange on the timeline, watch the full sequence, then go back and regenerate the weakest shots. Iteration is faster than chasing perfection on each clip before moving forward.
Mistake 4: Ignoring Audio Until the End
Add a temporary music track before you've finalized every clip. Editing to music changes how you perceive clip timing and which moments actually work. The audio context will change your decisions about clip selection and arrangement.
What mstudio.ai Is Actually Solving
Traditional video editing tools (Premiere, After Effects, DaVinci Resolve) were designed for footage shot on physical cameras with natural continuity between shots. AI-generated video works differently — each clip is a standalone artifact with no physical connection to any other clip.
mstudio.ai is built from the ground up for AI filmmaking. It treats AI generators as the creative instruments and the production workflow as the layer that connects them into a coherent whole. Instead of importing AI clips into a tool designed for something else, you're working in an environment designed for exactly this workflow.
The result: shorter iteration cycles, better creative decisions, and films that actually get finished instead of living as folders of unused MP4s.
Getting Started
If you're ready to combine your AI video clips into a full production:
- Sign up at mstudio.ai
- Create a new project and add your existing clips, or generate new ones directly inside the platform
- Arrange your timeline, add audio, export your film
The AI models will keep getting better. The workflow for turning them into real films starts here.